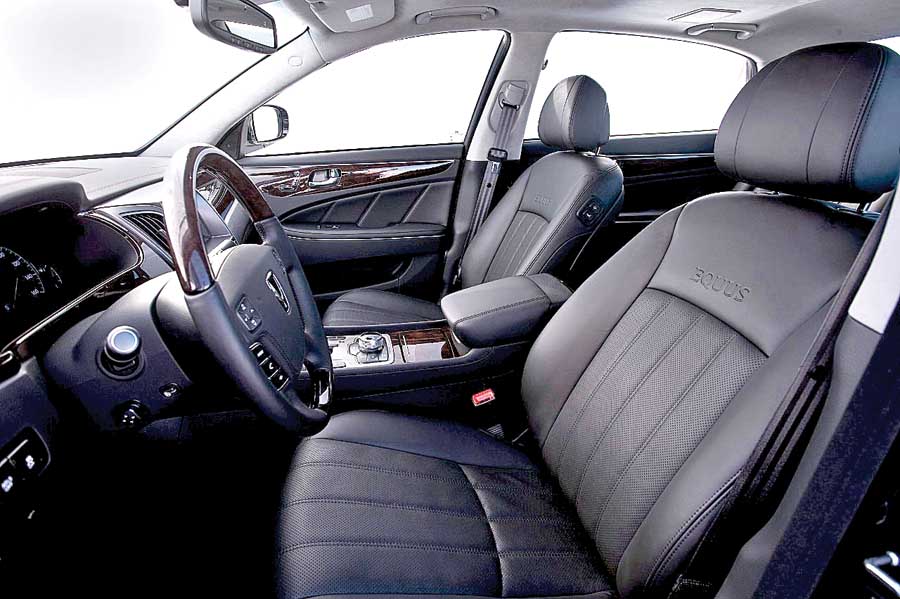
A car is now an extension of its owner’s lifestyle and the look and comfort of the car seat is a critical interface between person and machine. With the global automotive interior market expected to reach US $ 325.12 billion by 2016, the car seat cover manufacturing sector is gearing up to be the major benefactor of this growth with a thrust on ever improving functionalities, achieved majorly through the use of processed fabric with high abrasion resistance, water resistance, UV light resistance, and easy-to-clean capability. A typical car seat has three major components – the metal structure, the moulded polyurethane foam, and finally the car seat cover which involves stitching.
Team StitchWorld visited SKH Auto Components, Faridabad to understand the manufacturing and quality practices involved in car seat cover manufacturing. The unit is one of the OEMs of Krishna Maruti (a JV of Maruti Industries).
A car seat cover fabric is made up of an exterior layer, usually polyester; an inner layer of foam which varies from few millimetres to 12 mm, and the reinforcement material to give the dimensional stability to seat cover, facilitating the sewing and seam strength. These three layers, fabric-foam-reinforcement, are fixed together by flame laminate.

One set of car seat cover consists of 6 distinct pieces which are 2 front seat cushions, 2 front seat backs, 1 rear seat cushion, and 1 rear seat back, besides 4 head rest and 1 arm rest with a special provision for air bag. To stitch them together, one requires heavy duty single needle lockstitch machines with compound feed. In a production setup, 400 sets of car seat covers a day can be achieved from 100 sewing machines. The SAM (Standard Allowed Minutes) of a piece varies from 7-14 minutes (rear seat cushion takes the longest production time of 14 minutes, while a front seat cushion is completed in 7 minutes.
Most of the defects that are identified in a car seat are the fabric defects which can be controlled at the mill stage; while the stitching defects are loose stitch, jump stitch, margin fault, fabric fault, three notches out, wire missing, pitch of the fabric, uneven stitching, interlayer mismatch (or notch mismatch). Unlike household upholstery, the tolerance for defect is much less in the automobile industry, as the car seat is also a major functional component which drives comfort and safety. It is for this reason, KML follows very stringent quality control processes while tackling the errors and defects in car seat cover manufacturing.
The defect identification is done through FMED (Failure Mode and Effects Analysis) which is a systematic and proactive method of evaluation of defects. Through this process, the company aims to derive the Risk Priority Number (RPN) of each process or operation, which depends on three factors: Occurrence – likelihood that the failure will occur; Detection – likelihood that the failure will not be detected; and Severity – the amount of harm or damage the failure mode may cause to a person or to equipment. After the ratings have been assigned, the RPN for each issue is calculated as:
RPN = Severity X Occurrence X Detection
The RPN value for each potential problem can then be used to compare the issues identified within the analysis. Typically, if the RPN falls within a pre-determined range, corrective action may be recommended or required to reduce the risk, that is, to reduce the likelihood of occurrence, increase the likelihood of prior detection or, if possible, reduce the severity of the failure effect.
Case Study: Lifter hole mismatch in seat cover component
Defects to be analyzed: The hole on the panel of the car seat should have been in straight line to the hole on the mirror panel. Since it is obvious from the Picture 1 that it is not the case, there is a mismatch as both the holes do not align as they should.
Cause & Effect diagram is prepared for identification of possible causes behind lifter hole mismatch.
 The three potential causes shortlisted are:
1. Margin out during stitching
2. Wrong cutting during cutting process
3. Incorrect punching of hole due to template incorrect
While the defective pieces are checked for seam margin, it was found that margin is 7 mm to 9 mm which is within standard range of 5 mm to 9 mm. Thus margin out during stitching is a non valid cause.
While defective pieces were checked for cutting accuracy, it was found cutting as per template. Therefore, wrong cutting is also a non-valid cause.
‘Why-why’ analysis for occurrenceÈ
| ‘Why-why’ analysis for occurrence | |
| Defect | Lifter hole mismatch |
| Why-1 | Why lifter hole mismatch? |
| Answer | Because hole shifted horizontally & vertically during fitment |
| Why-2 | Why hole shifted horizontally & vertically during fitment? |
| Answer | Because hole punching wrong during punching. |
| Why-3 | Why hole punching wrong during punching? |
| Answer | Because hole location in template not accurate |
| Root Cause | Template incorrect |
When defective pieces were checked and analyzed with pad and frame, it was found that template is incorrect. Therefore, it was established that incorrect template, thereby incorrect punching of hole was the valid cause behind lifter hole mismatch.
| ‘Why-why’ analysis for flow | |
| Defect | Lifter hole mismatch |
| Why-1 | Why lifter hole mismatch reached at customer end? |
| Answer | Because inspector did not check properly. |
| Why-2 | Why inspector did not check properly? |
| Answer | Because no check point of position of hole. |
| Root cause | No check point |
 Now the root cause of the problem is identified by ‘why-why’ analysis. In ‘why-why’ analysis, ‘why’ is asked consecutively till the root cause is identified. First ‘why-why’ analysis was done for occurrence and second ‘why-why’ analysis was done for flow.
To ensure non-repeatability of defects two countermeasures were taken. While the first countermeasure was to ensure no defective pieces are produced, second countermeasure was to ensure no defective pieces reach the customer.
 Countermeasure – 1
The distance of hole in the template is modified. Originally the template horizontal distance from notch side to centre of lifter hole was 344 mm and vertical distance from notch side to centre was 162 mm, which is now modified to 336 mm and 152 mm, respectively.
Countermeasure – 2
Earlier there were no check points for checking of location of hole, now two check points are added to the final inspection sheet to check the hole distances highlighted in the below table.
If the effectiveness of the countermeasures is established positive, the measures taken are incorporated in the standard procedures of the company.